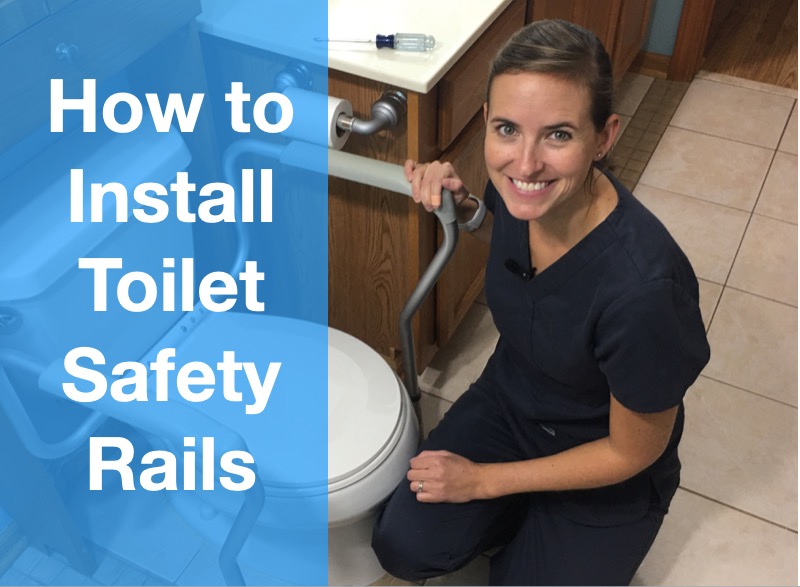
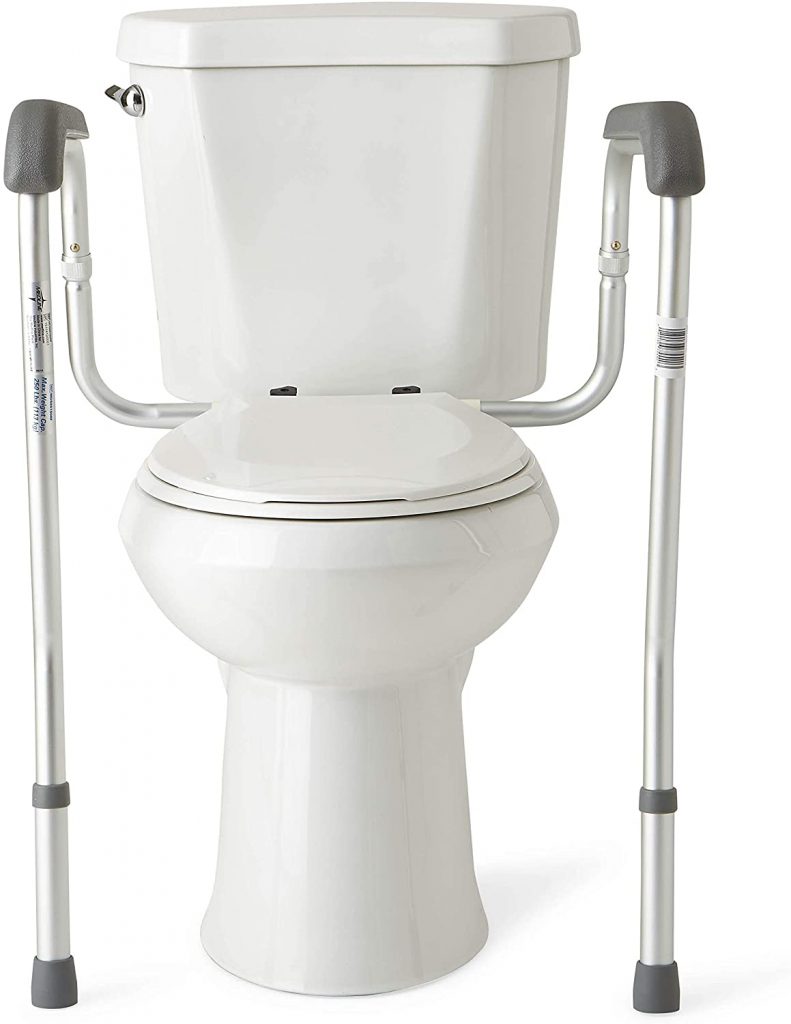
Do you need to install toilet safety rails?
You are not alone. Toilet safety rails are one the more common pieces of medical equipment that I see in people’s homes, so obviously, there are a lot of questions about how to install them properly.
You can get toilet safety rails just about anywhere. You can get them at Walmart, Amazon, Walgreens, Rite Aid and any other location where medical equipment is sold. The one I am going to show you how to install is a Drive medical toilet safety rails.
If you prefer videos, I have a video of how to install toilet safety rails on YouTube below. Be sure to check out the rest of my videos on how to install home-based medical equipment.
But if you prefer written instructions, no problem! Let’s get started.
Overview
Estimated Time: 10 mins
Estimated Cost: $28 USD*
*Estimates are based on historical prices which are subject to change
Supplies
Tools
Steps
Please note: Before we begin, please make sure you follow all the instructions and warnings provided by the manufacturer. The steps below are only to provide guidance with installing or assembling equipment, but you should always follow the warnings and instructions provided by the manufacturer.
Step 1: Assemble Toilet Safety Rails
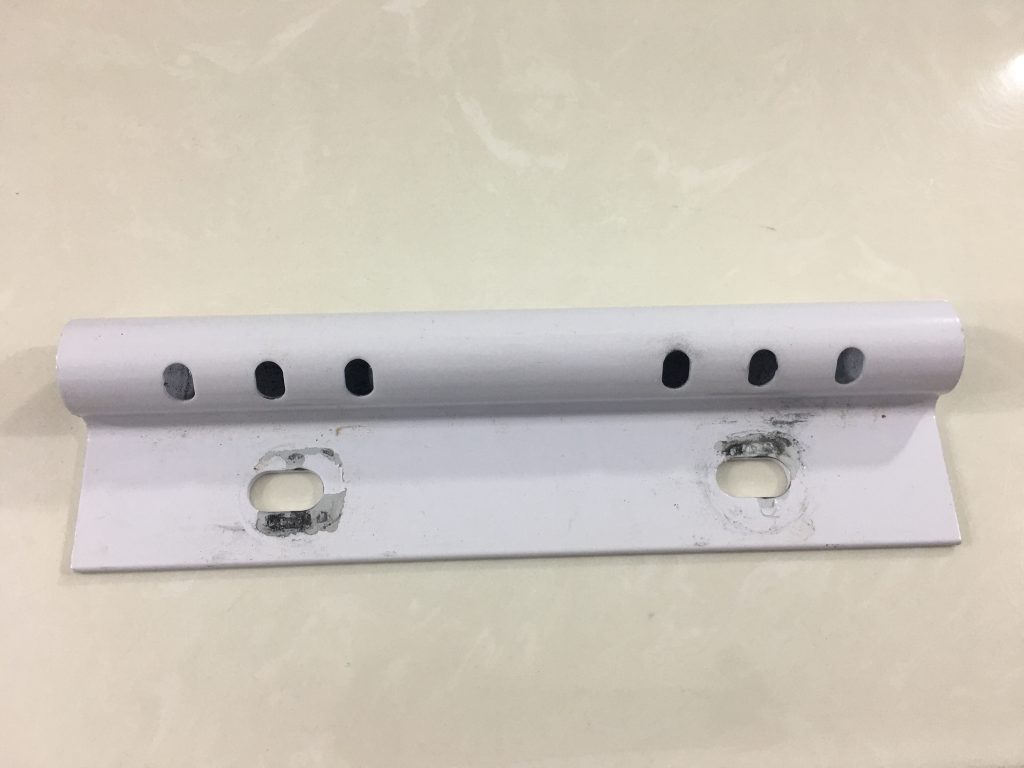
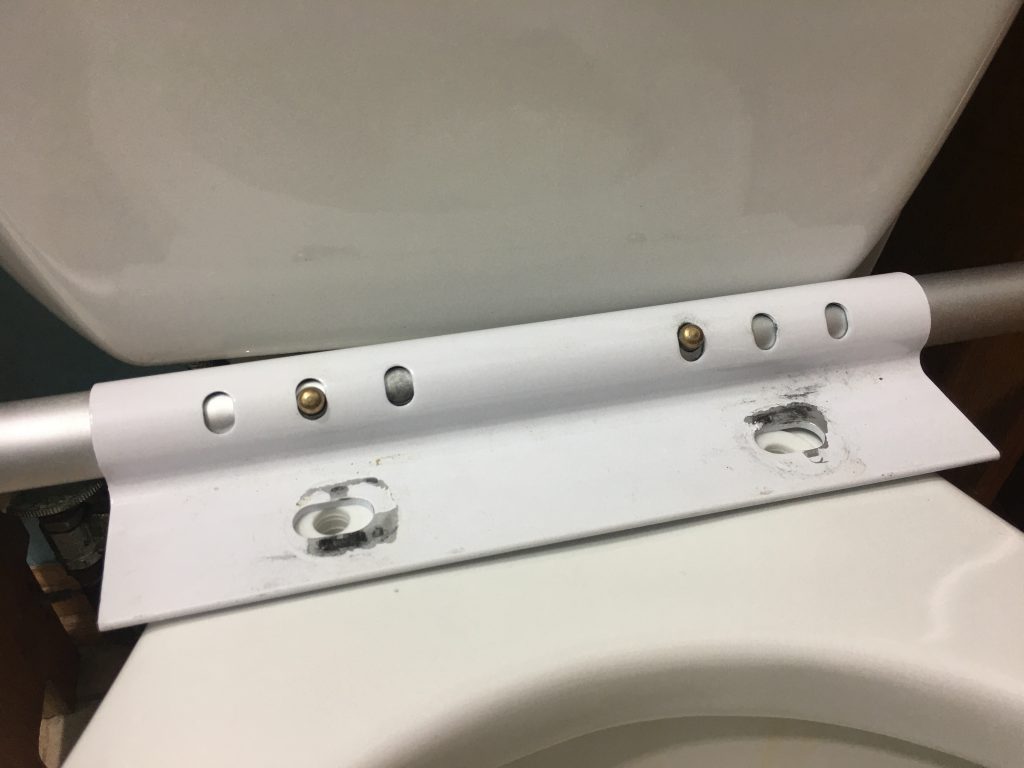
With your toilet safety rail kit, you’re going to get the mounting bracket (see photo below), which is the part that mounts to the back of the toilet. It’s going to have holes for the bolts of your toilet seat, as well as these holes on the back for the actual rail system to mount to.
You’re also going to get two rails.
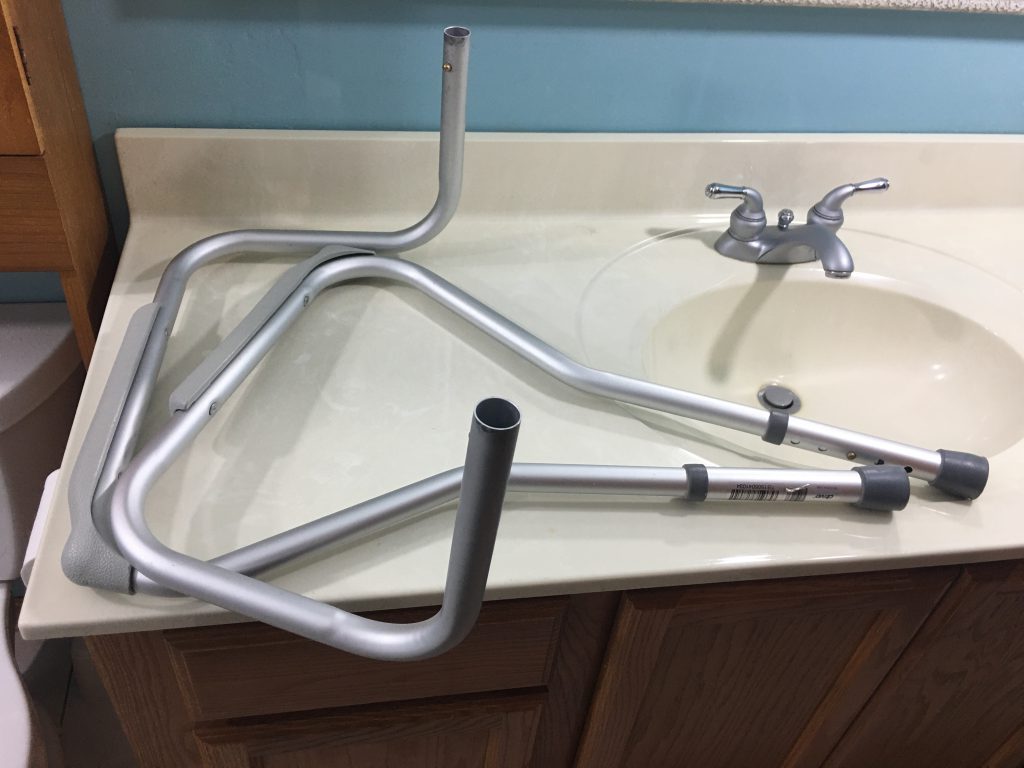
The safety rails have adjustable leg height, which is really important, because you’re going to have different height toilets that you’re working with. You’re going to have the arm rest piece, and then you’re going to have a back piece that actually mounts to your mounting bracket.
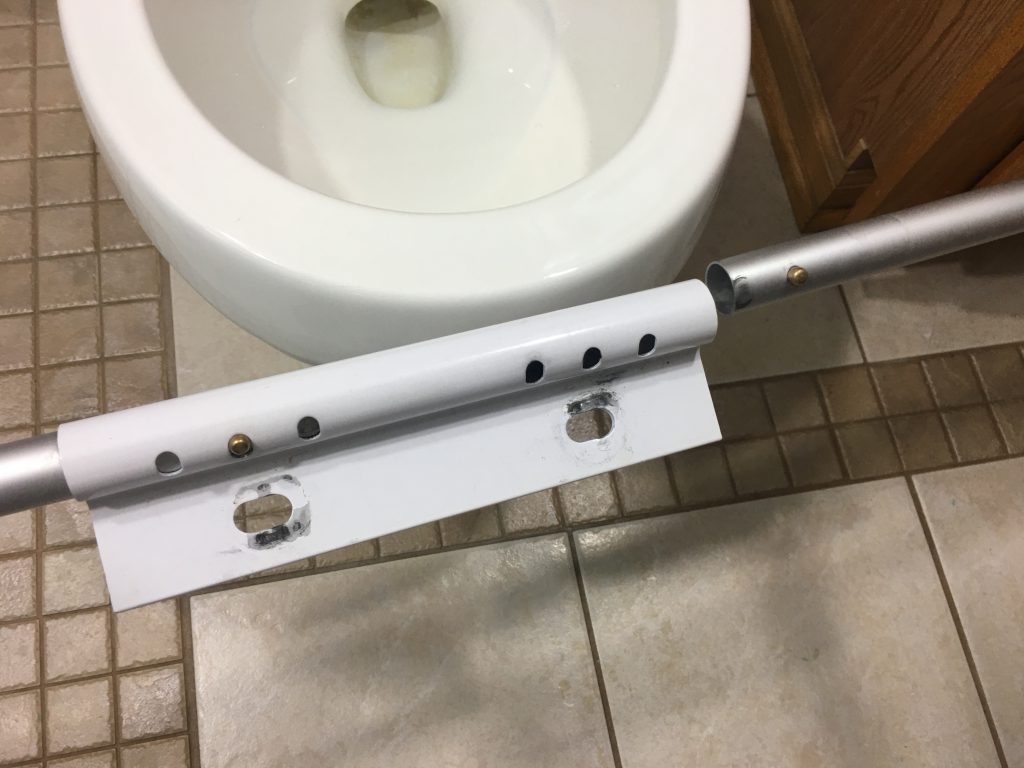
Install the arm pieces into the two ends of the toilet mount bracket using click button assembly. They have different holes for different positioning, depending on your space and depending on your personal size.
Step 2: Remove the Toilet Seat
Now, we have to remove our toilet seat. Remove the bolts on the back of the toilet seat by loosening the nuts underneath and lifting it off of the toilet bowl.
My video below for more details about removing and replacing a toilet seat to accommodate after-market medical equipment.
Step 3: Install mounting bracket and toilet safety rails on toilet
So we’re going to place the mounting bracket over the bolt holes on the back of the toilet bowl. It should line up pretty close.
Step 4: Adjust leg height
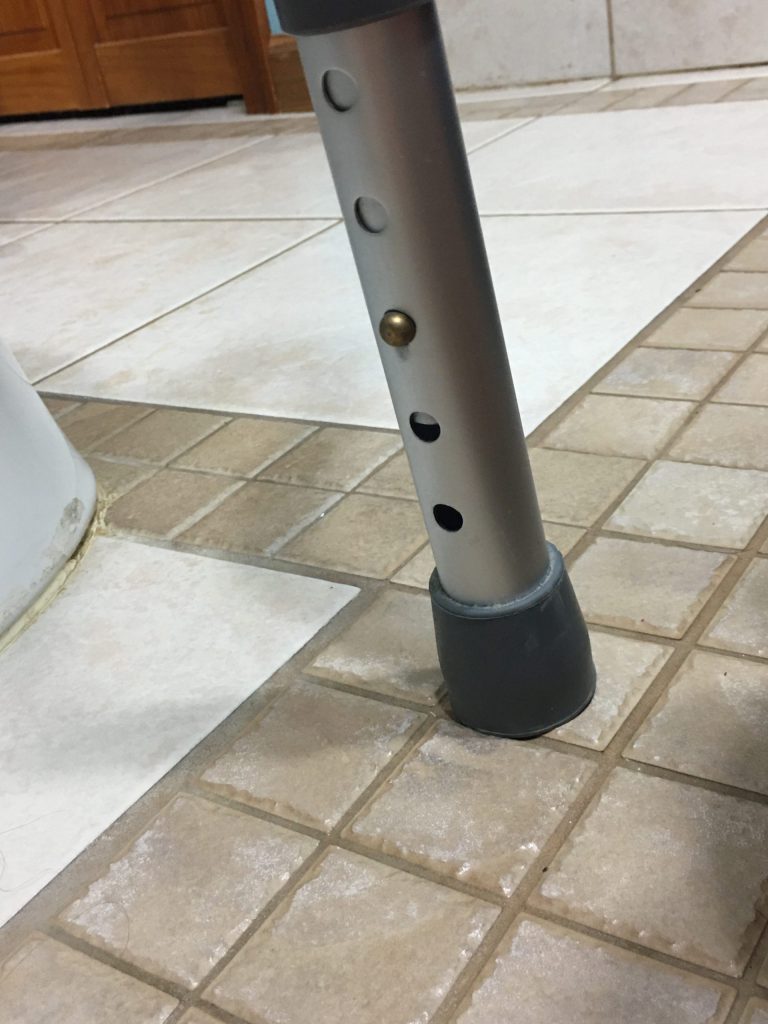
Next, we want to look at the leg height of the mounting bracket a little bit. Adjust the leg height to meet proper height of toilet.
This one’s been set to match roughly the height of my toilet. This toilet is a lower toilet. If you have a taller toilet, you may have to adjust these legs so that they’re a little bit longer. These ones for a lower toilet are right at the third from the bottom hole, so almost to the very lowest setting.
Step 5: Install the toilet seat over the toilet safety rails
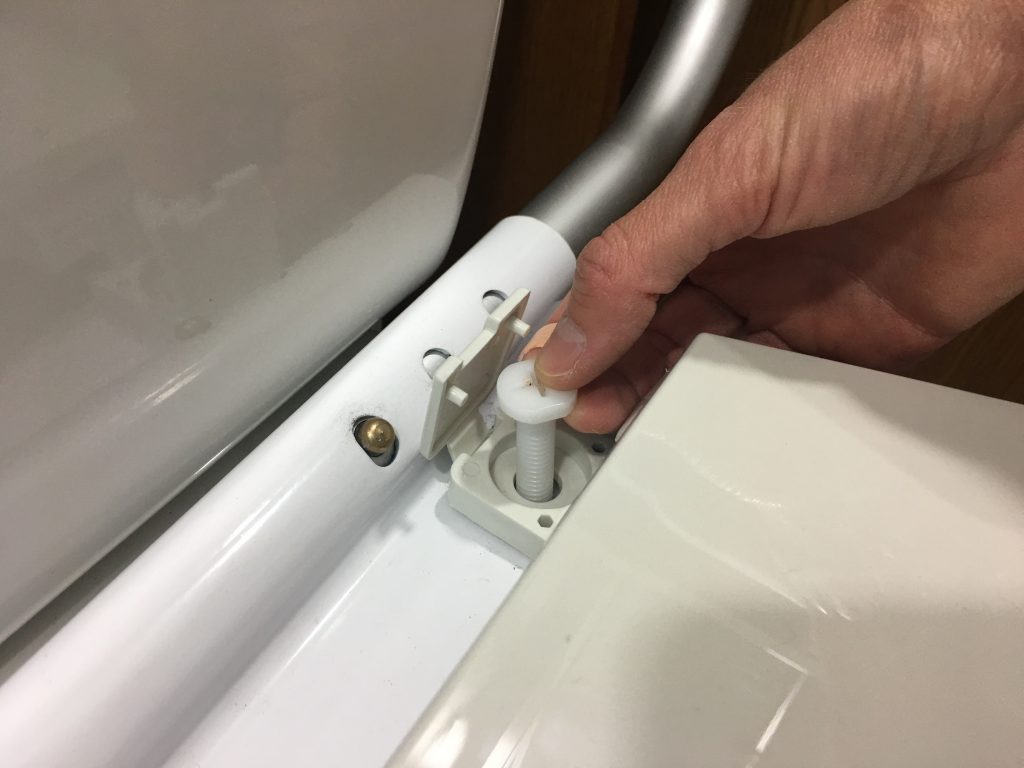
Set the toilet seat back over the top of the mounting bracket, lining all our holes up, and drop our toilet seat bolts back in. Tighten down using nuts and screw driver. Replace flaps over the bolts and test the seat for stability.
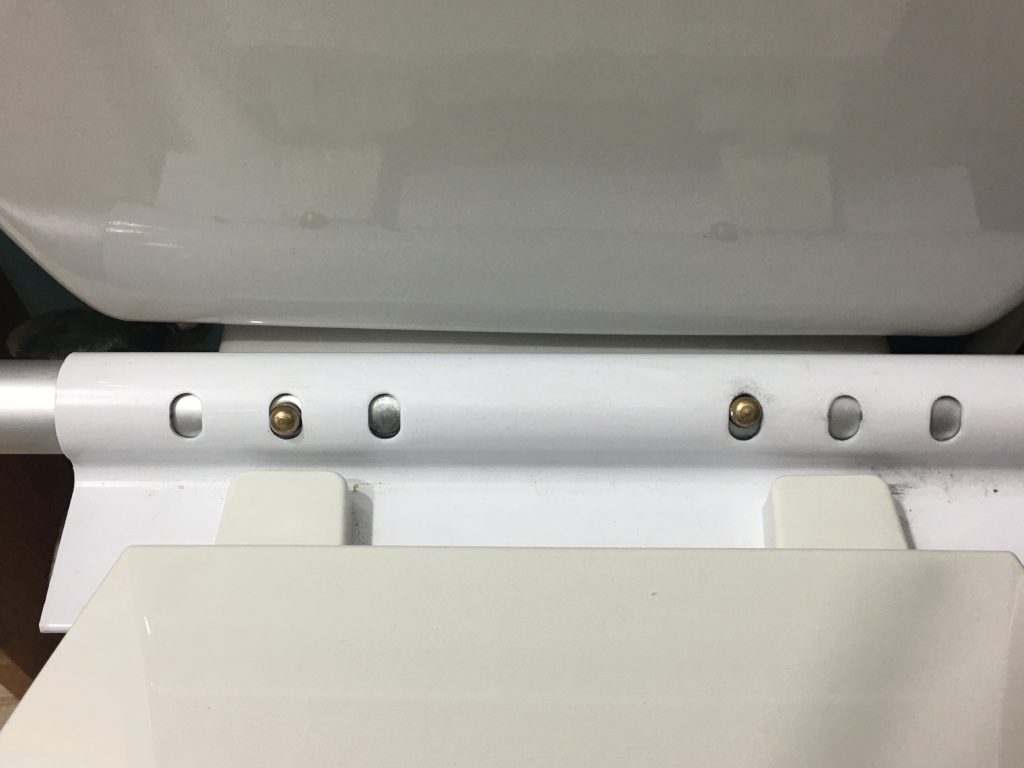
That’s it! Your toilet safety rails are ready to use. The rails are now in place and will be able to support up to 300 pounds of weight.
Note: This post contains affiliate links that provide a small commission without any added cost to the user.
More Recent Posts
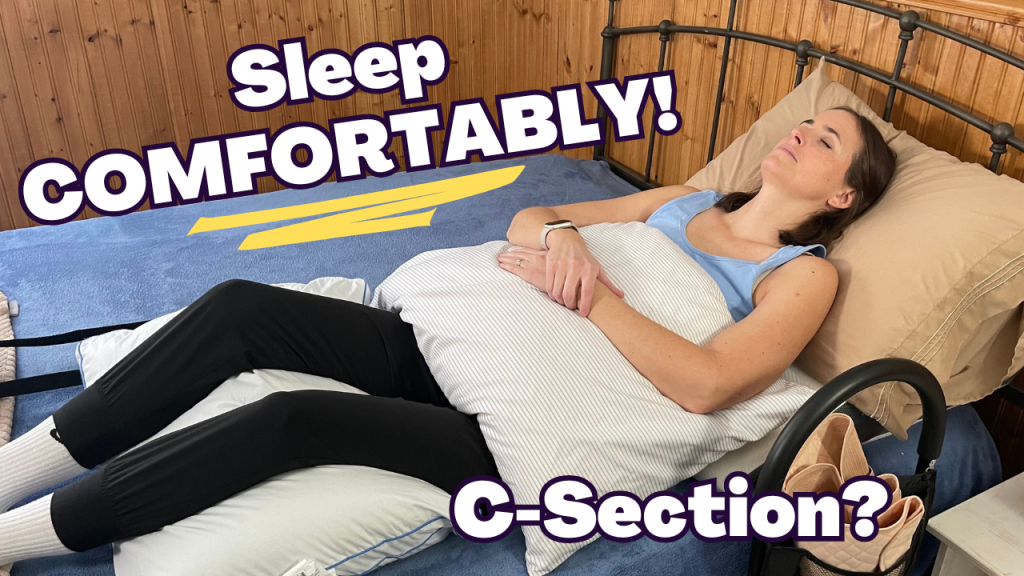
- How to Sleep After a C-Section or Abdominal SurgeryRecovering from a C-Section, appendectomy, abdominoplasty, or other abdominal surgery can feel overwhelming, especially when it comes to something as essential as sleep. With a tender incision and limited mobility, finding a comfortable position may seem impossible—and yet, proper rest is critical for healing! In this …
How to Sleep After a C-Section or Abdominal Surgery Read More »
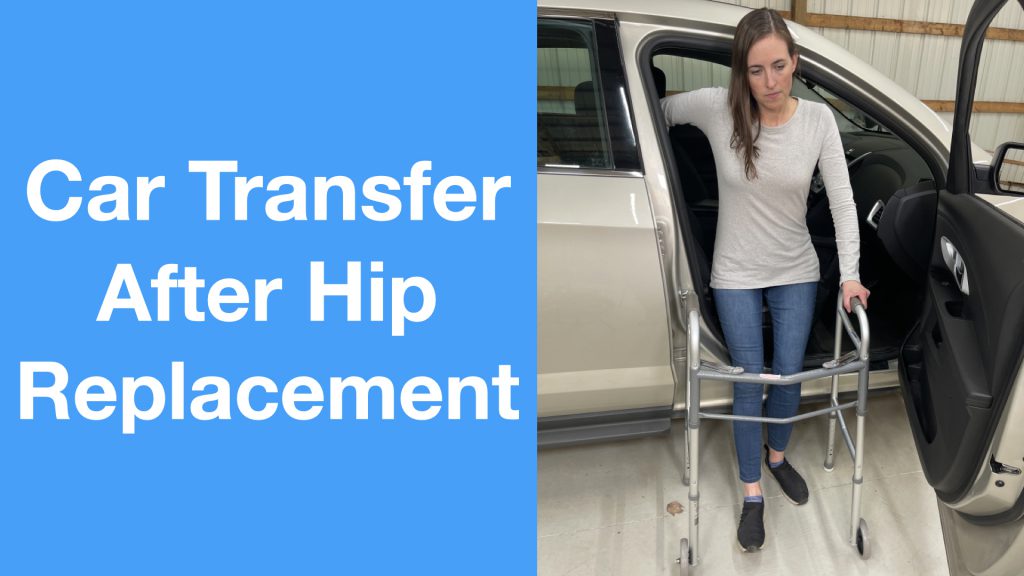
- How to Get In and Out of the Car after Hip ReplacementGetting in and out of a car after a hip replacement can feel like navigating an obstacle course. Ensuring you move safely and avoid unnecessary strain on your healing hip is essential for a smooth recovery. Whether you’re heading to a follow-up appointment or simply enjoying …
How to Get In and Out of the Car after Hip Replacement Read More »
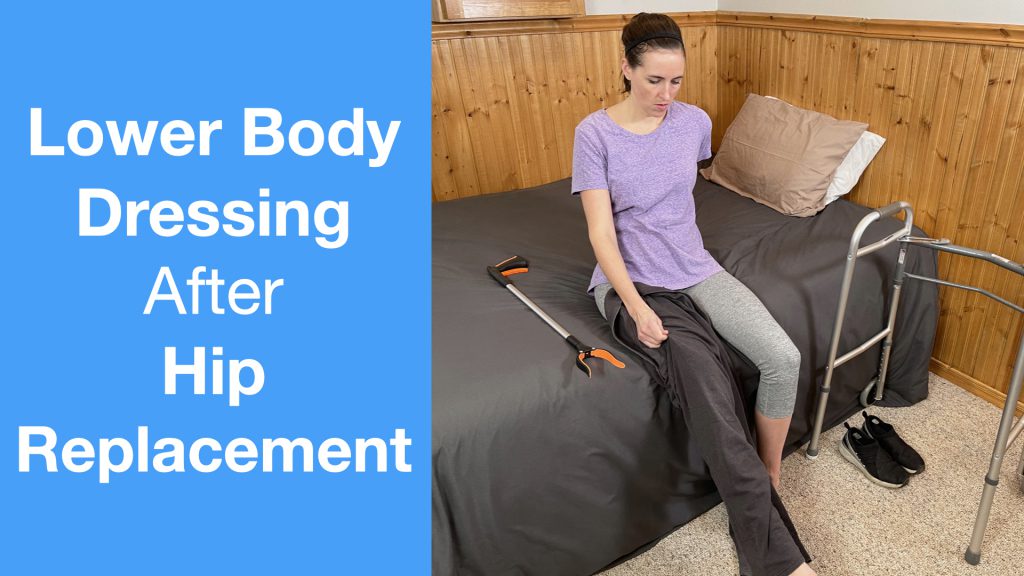
- A Complete Guide to Lower Body Dressing After Hip Replacement SurgeryRecovering from hip replacement surgery (or similar traumatic injury) comes with its challenges, especially when it comes to everyday tasks like getting dressed. While your mobility may be temporarily limited, dressing your lower body can be made much easier with the right strategies and tools. This …
A Complete Guide to Lower Body Dressing After Hip Replacement Surgery Read More »
