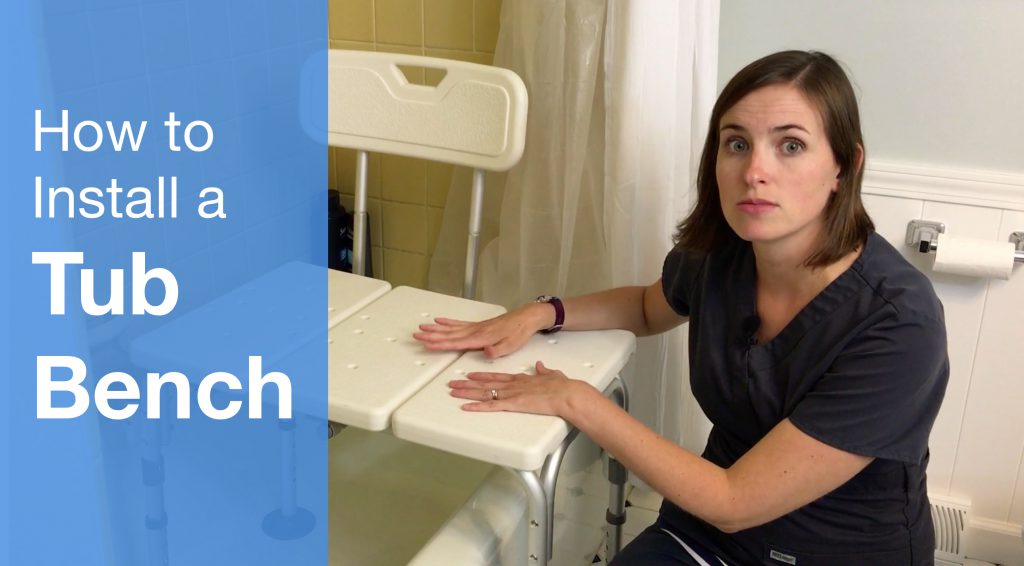
Tub benches are great equipment for ensuring the safety of yourself or your loved one while giving them the freedom to shower.
But installing a tub bench yourself can be confusing without the assistance of someone who has installed a tub bench before.
Luckily, I have a lot of experience installing tub benches and can give you a few helpful tips and tricks to guide you through the process.
Overview
Estimated Time: 10 minutes (or less)
Estimated Cost: $60 USD
Supplies Needed
Required Tools
- scissors (optional)
Steps:
- Check the tub is level
- Check for obstructions
- Place the tub bench
- Perform Safety Check
- (Optional) Install handheld shower head (with long hose)
- (Optional) Install Shower Head Holder
- Remove Bench from the Tub
- Bonus: How to Keep Your Bathroom Floor Dry
Please note: Before we begin, you need to make sure you follow all the instructions and warnings provided by the manufacturer. The steps below are only to provide guidance with installing or assembling equipment, but you should always follow the warnings and instructions provided by the manufacturer.
Let’s get started!
Step #1: Check that the tub is level
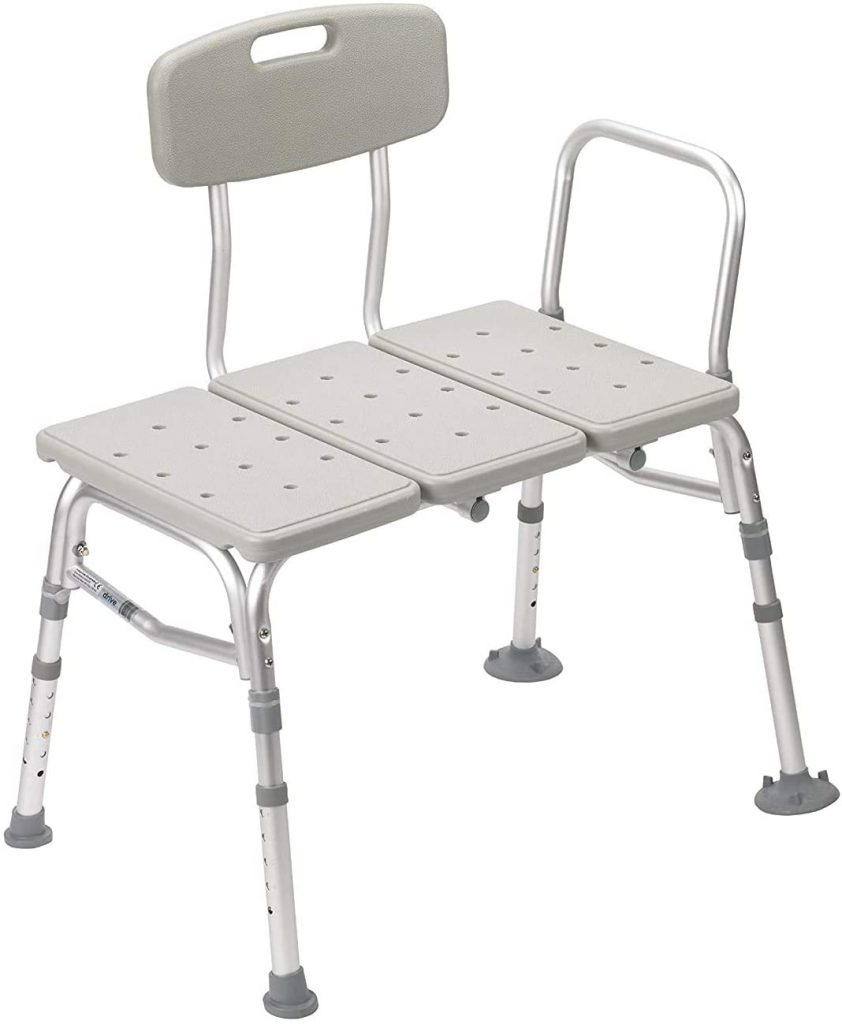
The tub that we are installing today is a standard plastic hard body tub transfer bench. In our case, we assembled this tub bench in a previous. You can read how we assembled the tub bench here.
So, we are going to start with placing the tub bench in the shower.
First, check that the tub is level.
Frequently, you’ll find that the tub floor may be higher, or the actual bathroom floor might be slightly higher. The legs on the tub bench can be adjusted to accommodate floors that are not level. Adjust the legs to ensure that the bench is as level as possible.
In our situation, the tub and floor are the same height, so I did not have to adjust the legs to be different heights.
Step #2: Check for obstructions
Next, check for and remove any obstructions.
Remove any floor mats or sticky grips that may be on the floor to allow for a good, clean suction hold. The tub bench has suction cups on one pair of legs that you really want to hold the bench in place to make your transfer safe.
You should be able to give the bench a little pull and the suction cups should hold quite well.
Step #3: Place the tub bench
Find where in the tub to place.
When considering placing this you need to know the person that’s going to be using the bench and consider their leg length, how they’re able to move. So, for example, if somebody’s had a knee replacement or an injury that may limit their ability to bend their legs, the bench can go quite a bit far back into the tub to accommodate the room for them to slide their legs over without bending them.
For me, I put this right in the middle because I can bend my knees just fine, it’s more of an issue of stability. Place the bench in the shower with the shower cup feet inside the shower and push it down to ensure the suction cup feet are in place. Tub transfer benches do have a little wiggle to them, that’s normal because of the way they’re assembled. There are a lot of joints and they are very lightweight, so they do move a little bit. Don’t be alarmed. They are stable and they are going to hold you, so just be aware that they do have a little bit of wiggle to them.
Step #4: Perform Safety Check
Now, once the bench is in place, it is important to do a safety check before use. Make sure the bench is level and the suction cups are attached. You may even want to have someone good mobility try out the bench first to ensure the bench is secure and stable.
Step #5: Install Handheld Shower Head (with long hose)
Another thing to consider when you’re installing a tub transfer bench is some of the accessories that I highly recommend. First thing, I very much recommend any time somebody’s going to be doing a seated shower is a handheld shower head. I’m talking about removing the existing shower head that is there and replacing it with a handheld shower head with a long hose. These handheld shower heads can make all the difference in the world for comfort and for independence with the ability to take your own showers, because having that shower spray directly in your face is very abrupt. Most handheld shower heads are quite simple to install with no plumber necessary, and they come in many, many styles and forms, so take a little time and figure out what you like.
Step #6: Install Handheld Shower Head Holder
If you do get a handheld shower head, I highly recommend a handheld shower head holder. The inexpensive ones that I have seen are mostly suction cup attached so you can attach them to your shower wall. The holder will hold that shower head in place, so that you don’t have to set it down, or balance it on your knee, or just let it fall down on the floor and have it spraying everywhere while you’re showering. It’s really a nice little piece of equipment that makes the process much easier and cost only around $8 or $9 dollars.
Step #7: Remove Bench from Tub
The last thing I want to bring up is what you do when you are done with your shower. So, in this particular bathroom, we had a toilet on the opposite side of the shower bench, because these shower benches stick out a little bit, you need to take into consideration the amount of space left. In some bathrooms, like galley style bathrooms, you may need to remove the shower bench in between showers. Be sure to place it in the shower when you are done so it’s out of the way and not a trip hazard for somebody coming through to use the toilet.
Step #8: Bonus: How To Keep Your Bathroom Floor Dry
An important question you may be asking is…how am I going to keep the water from spraying out of the shower?
So, there is a pretty easy solution if you already have a shower curtain. If you have a metal and glass surround for your shower with glass doors, you are going to need to remove those glass doors first before you even installing the tub bench. So, once those glass doors are removed, if this is a temporary solution, and you would like to keep the glass surround, feel free to leave the metal hold around it.
If the tub bench will be a more permanent solution, I would consider removing the metal surround and just installing a standard shower curtain rod. Shower curtain rods are easier and they work a lot better with this type of equipment.
Now, what you’re going to need next is a cheap plastic shower curtain and I emphasize cheap because you are going to cut it. Open the shower curtain all the way in front of the tub bench to the edge of the tub and then you’re going to check where the tub bench lines up along the shower curtain. Your bench should have a little crease that works perfectly if you cut the shower curtain with two slits and slide those through that little slit that you’ve created down into this crease, which sometimes takes a little doing.
You can choose not to cut the curtain and instead, slide the curtain down through the crease as much as you can. I find that cutting the shower curtain makes it much cleaner.
Once the shower curtain is pulled through, it is really going to keep the water from then spraying out and soaking your entire bathroom while you are taking your shower, so a little bit less concern. It’s really helpful to have a second person if you have some dexterity issues or something where you’re having a hard time sliding the curtain through, so take that into consideration if you do have somebody that can help you when you’re taking your shower. So obviously once you’re done with your shower, you can slide the shower curtain out of the way and you are left with a nice dry bathroom floor.
So, that covers it.
Note: This post contains affiliate links that provide a small commission without any added cost to the user.
More Recent Posts…
- How to Sleep After a C-Section or Abdominal Surgery

 Recovering from a C-Section, appendectomy, abdominoplasty, or other abdominal surgery can feel overwhelming, especially when it comes to something as essential as sleep. With a tender incision and limited mobility, finding a comfortable position may seem impossible—and yet, proper rest is critical for healing! In this …
How to Sleep After a C-Section or Abdominal Surgery Read More »
- How to Get In and Out of the Car after Hip Replacement
 Getting in and out of a car after a hip replacement can feel like navigating an obstacle course. Ensuring you move safely and avoid unnecessary strain on your healing hip is essential for a smooth recovery. Whether you’re heading to a follow-up appointment or simply enjoying …
How to Get In and Out of the Car after Hip Replacement Read More »
- A Complete Guide to Lower Body Dressing After Hip Replacement Surgery
 Recovering from hip replacement surgery (or similar traumatic injury) comes with its challenges, especially when it comes to everyday tasks like getting dressed. While your mobility may be temporarily limited, dressing your lower body can be made much easier with the right strategies and tools. This …
A Complete Guide to Lower Body Dressing After Hip Replacement Surgery Read More »