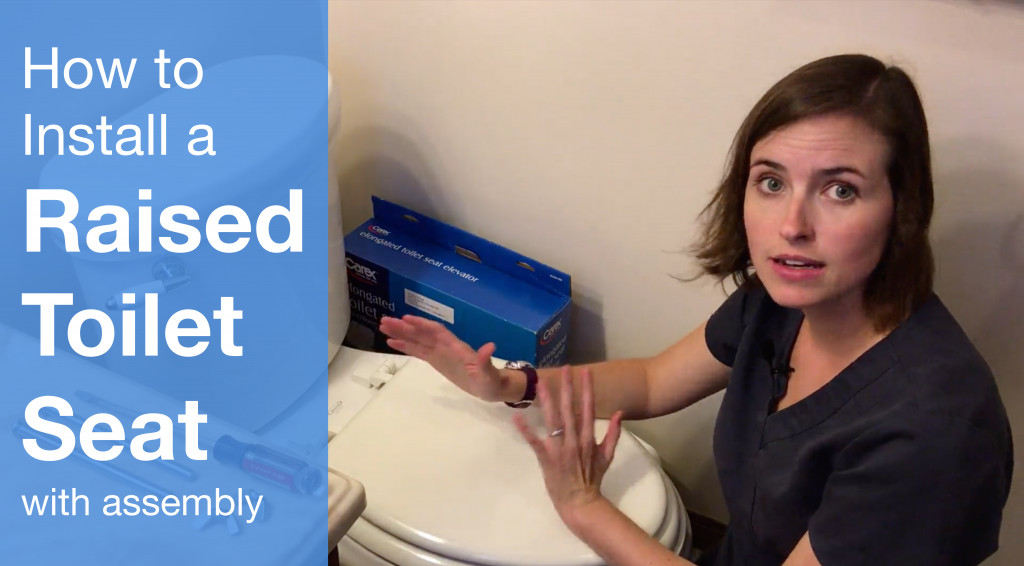
Installing a raised toilet seat for an elongated toilet can be a complicated, even for the handiest person.
You are not alone in your confusion. I see it all the time.
But it does not have to be. I’ll show you how to install a raised toilet seat for an elongated toilet with assembly in a few simple steps.
How to Install a Raised Toilet Seat – Steps
- Remove Old Toilet Seat
- Place Raised Toilet Seat (Carex Elongated Raised Toilet Seat) or (Carex Round Raised Toilet Seat)
- Install Toilet Seat Bolts
- Safety Check
Please note: Before we begin, please make sure you follow all the instructions and warnings provided by the manufacturer. The steps below are only to provide guidance with installing or assembling equipment, but you should always follow the warnings and instructions provided by the manufacturer.
Let’s get started!
Raised Toilet Seat – Equipment
The raised toilet seat that we are installing is one with a three and a half inch rise. It’s installed on an elongated or European style toilet and holds up to 300 lb. weight capacity.
This type of toilet seat is installed fairly permanently. You must remove your toilet seat and the installation will require some tools. The toilet seat riser is meant to be placed in one bathroom and left there. It can be removed eventually, but it is a bit more cumbersome to do so.
The raised toilet seat comes with holes in the back where the bolts go in to fasten it to your toilet. It should have four intact foam pieces. The foam pieces are meant to protect the porcelain of your toilet which is very important.
In addition to the toilet seat riser, you should also have two long bolts that come with fastening wing nuts. You want all of these things together, because they are meant to go together.
Installing a Raised Toilet Seat – Tools
- Flat-head (slotted) screwdriver (optional)
- Philips-head screwdriver (optional)
A flat head screwdriver may be required for your installation. Some toilet seat risers come with Philips head screws and some toilet seats are equipped with Philips head screws, so you will have to see which kind your toilet requires. You may need one or the other.
Raised Toilet Seat Installation – Step 1: Remove Old Toilet Seat
The first step in the raised toilet seat installation process is to open up the back of your toilet seat. If you’ve never done this before, the screws that hold down the toilet seat are usually covered up by some holders that are clipped down and can be popped up with your thumb. Sometimes, if they’re really sticky, you may need to use your flat head screwdriver to help pry them up. There’s usually a little place to set them. Un-clipping the holders reveals the two screws in the back. These screws have to be removed and set aside in order to install the toilet seat riser.
To unscrew the toilet seat screws, you need to place your flat-head screwdriver in the screw to hold it still. Then, you need to reach underneath the toilet seat and find the accompanying nut and remove that. You’ll want to keep all the screw, nut, and cover together, in case you want to remove the raised toilet seat and return it back to its original height.
Set the screws, nuts, and holders aside. Be cautious with these parts. The toilet seat screws, nuts, and holders are sometimes plastic and oftentimes, a very soft plastic. If you’re dealing with a toilet seat that hasn’t been removed in a very long time, oftentimes these are tough to get out. You’ll see the plastic gets damaged very quickly, you can strip one of these very easily, so be careful. Just a heads up about that issue, I’ve run into it a few times.
Now you should be able to lift off the toilet seat completely and set it aside. This is a great opportunity to give your toilet a really good, thorough cleaning, partly because when you remove it you can get underneath the toilet seat really thoroughly.
Another reason to clean the toilet is when you install this type of toilet seat riser, you can’t get underneath to the porcelain very easily without removing the entire structure, so it’s a great opportunity to get it good and clean ahead of time because you’re really not going to be able to get to it again unless you remove the whole fixture.
Raised Toilet Seat Installation – Step 2: Place Toilet Seat
Now, for the next step in our raised toilet seat installation, I’m going to place the black foam pieces down with the holes lined up over the back. These holes are meant to be elongated to allow a little bit of shifting room because some toilets are even longer than others. This toilet in particular is a very long bowl toilet.
I’m going to take my toilet seat and set it on top, lining the holes up in the back. It should all fit together pretty simply. Then, to take your bolts and slide them all the way through the holes. They should slide in without any resistance.
Raised Toilet Seat Installation – Caution
Be aware, some toilet seats do NOT work with these types of risers because of the bolts.
If you have a wooden toilet seat, they have very small holes in the back and they do not fit this particular type of bolt. You may need to go out and buy a different toilet seat that would fit this bolt to use this type of riser. Also, the new toilet seats that come with the quick remove click back pieces do NOT work with these as well. Those toilet seats are newer within the last few years, and I’ve been running into them more and more and they do not work with this type of bolt either. You need kind of the old fashioned standard toilet seat system like this one.
Raised Toilet Seat Installation – Step 3: Install toilet seat bolts
You’re going to take your flat head screwdriver, place it in the screw once again, place your wing nut underneath. This takes a little doing, because you can’t see what you’re doing and then you’re just going to screw the wing nut in snug, but not too tight. Again, you’re working in porcelain, you don’t want to over tighten these.
You may want to check on these every so often to make sure that they’re staying tight. Over time, they may loosen a little bit. If you start getting a little give in your toilet seat you may need to do that.
Raised Toilet Seat Installation – Step 4: Safety Check
Now, we can close these flaps again, check for sturdiness, that everything is on, and that everything is square. You shouldn’t see a lot of gapping when the toilet is completely closed. Also check to make sure you can open your toilet seat all the way.
Some toilet seats have short hinges. Those short hinges sometimes will run into these when the bolts are in place, so just double check that, that the seat opens up all the way. There shouldn’t be a ton of wiggle but, again, you don’t want to fasten these so hard that they run the risk of breaking the porcelain so maybe a little bit of wiggle, that’s okay.
The rise is good, I’m going to test it out. Okay, so I’m going to take a turn here, place my hands here and here to make sure everything’s stable before I sit. Square myself up on it, everything feels good. The height is appropriate for me. I’m going to try a little wiggle, make sure everything’s in place, everything’s solid. Then I’m going to try standing up again from it. I push from the middle, you can push from the sides. I’m going to use my counter top for some support as well. Push up from it. Everything looks good.
We’re all installed. The beauty of this type is once it’s in, it’s in for good. You don’t have to worry too much about adjusting it or making any changes to it over time.
Note: This post contains affiliate links that provide a small commission if used with no additional cost to the user.
More Recent Posts…
- How to Sleep After a C-Section or Abdominal Surgery

 Recovering from a C-Section, appendectomy, abdominoplasty, or other abdominal surgery can feel overwhelming, especially when it comes to something as essential as sleep. With a tender incision and limited mobility, finding a comfortable position may seem impossible—and yet, proper rest is critical for healing! In this …
How to Sleep After a C-Section or Abdominal Surgery Read More »
- How to Get In and Out of the Car after Hip Replacement
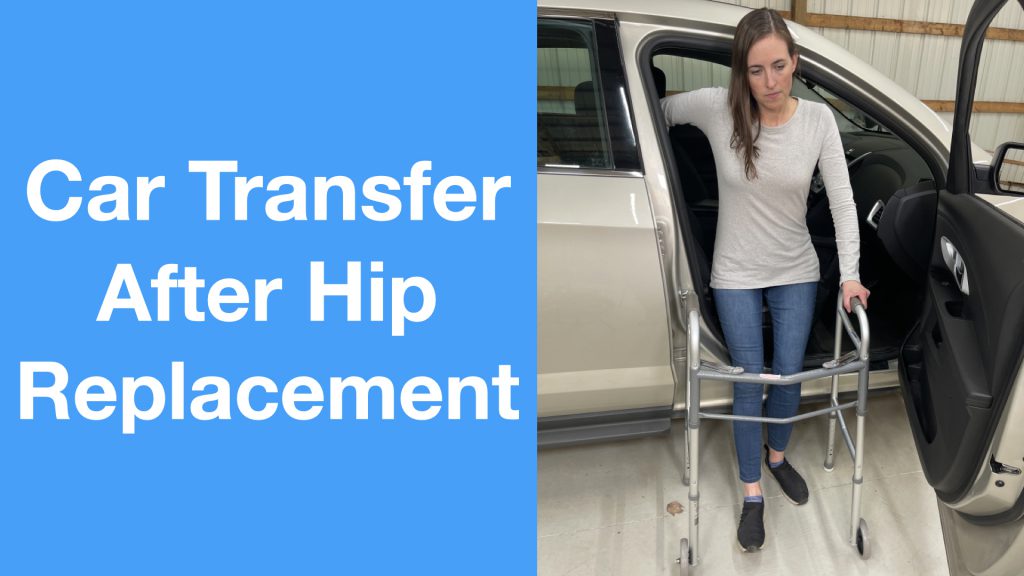 Getting in and out of a car after a hip replacement can feel like navigating an obstacle course. Ensuring you move safely and avoid unnecessary strain on your healing hip is essential for a smooth recovery. Whether you’re heading to a follow-up appointment or simply enjoying …
How to Get In and Out of the Car after Hip Replacement Read More »
- A Complete Guide to Lower Body Dressing After Hip Replacement Surgery
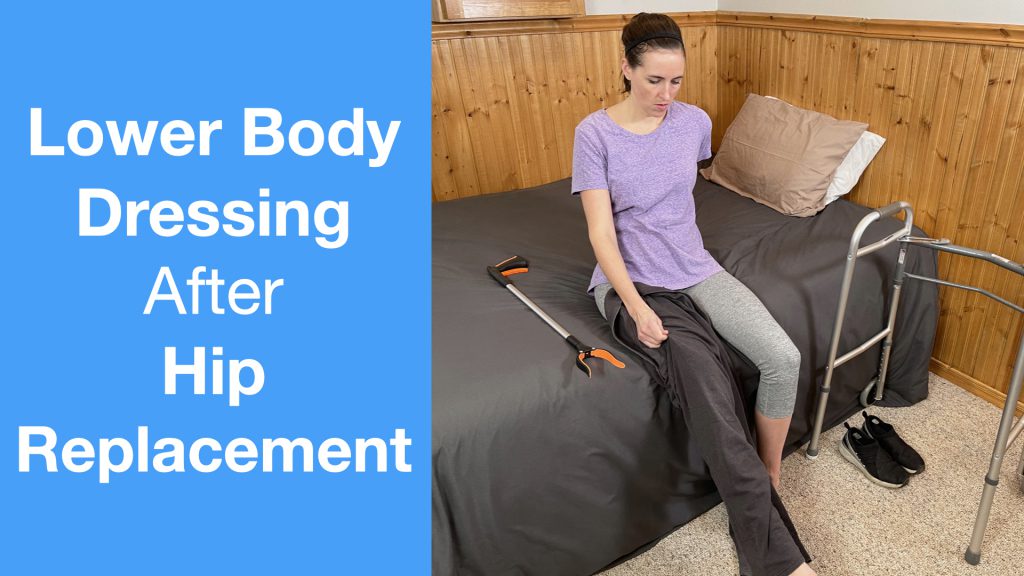 Recovering from hip replacement surgery (or similar traumatic injury) comes with its challenges, especially when it comes to everyday tasks like getting dressed. While your mobility may be temporarily limited, dressing your lower body can be made much easier with the right strategies and tools. This …
A Complete Guide to Lower Body Dressing After Hip Replacement Surgery Read More »