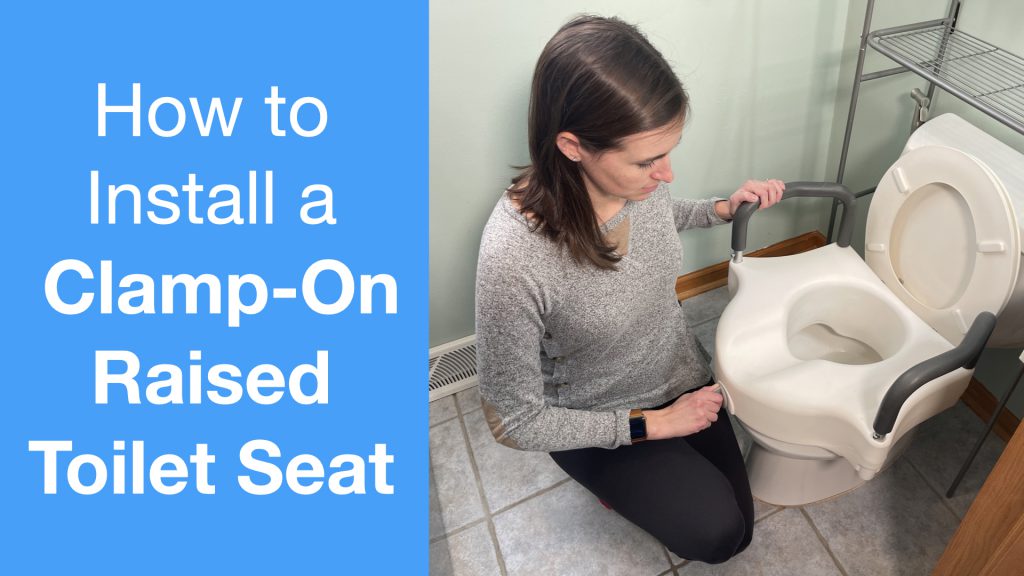
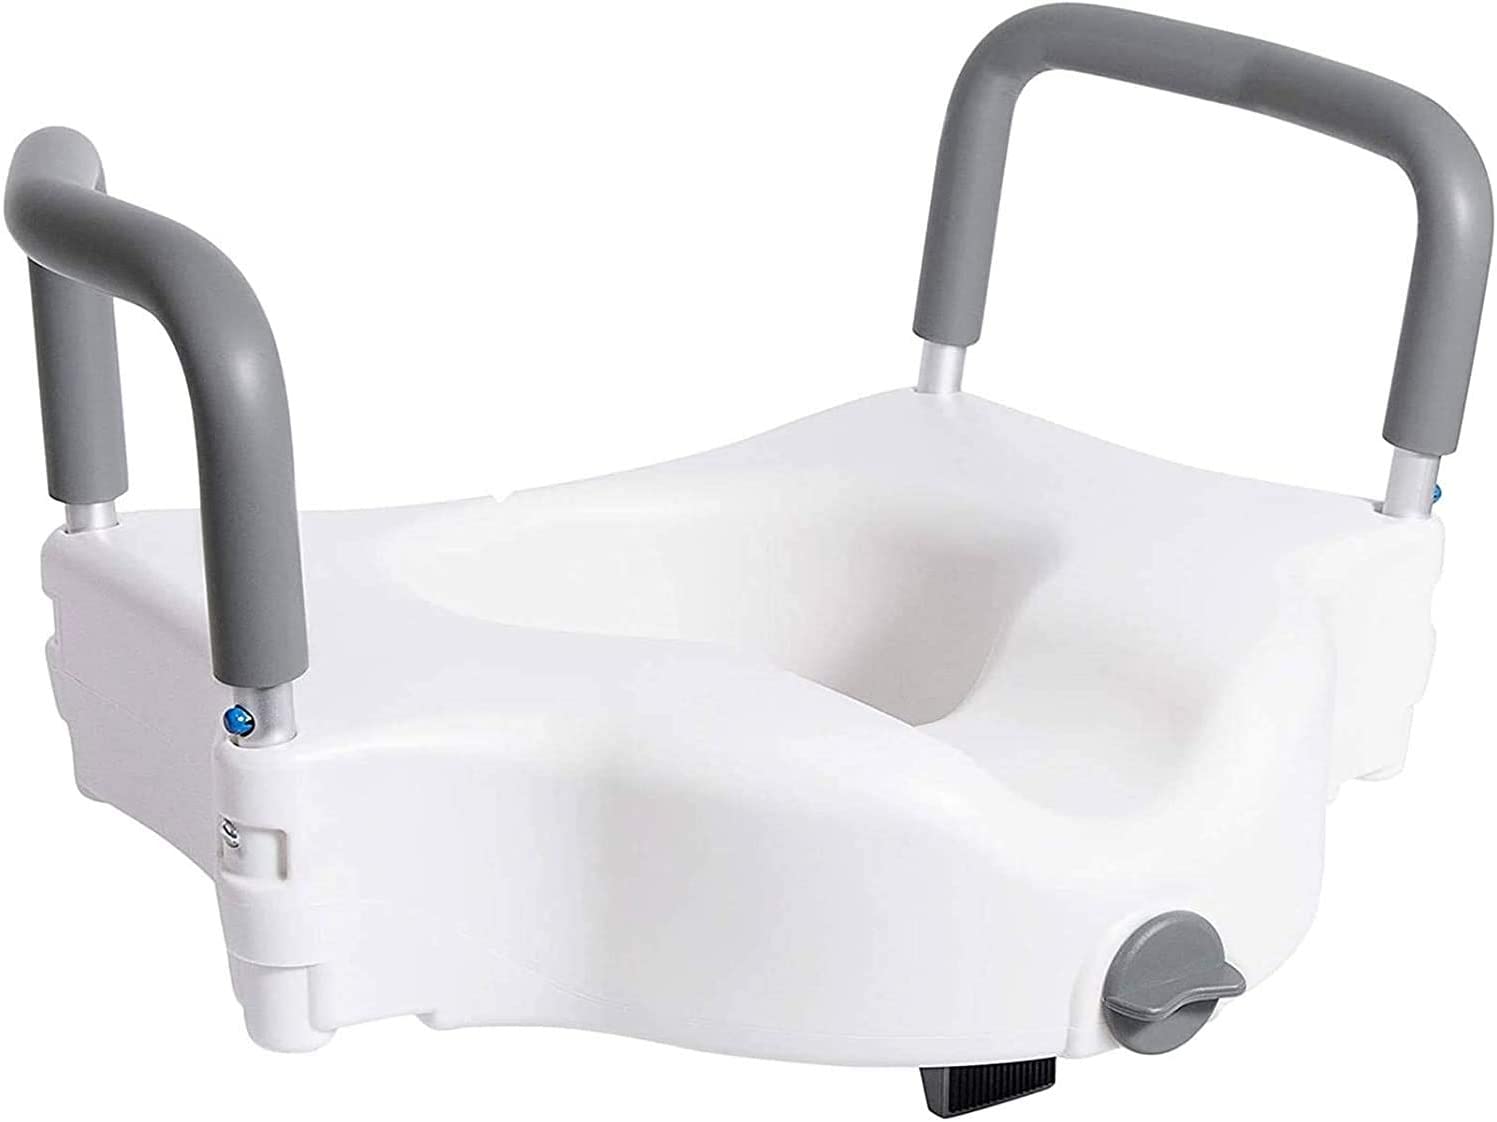
There are a wide variety of raised toilet seats and the clamp-on raised toilet seat is one of the more popular.
Clamp-on style raised toilet seats are a popular way to install a raised toilet seat without the need for tools.
Most clamp-on raised toilet seats will provide 4.5 inch/12 centimeter of rise, removable arm rests, and a 300 pound/136 kilogram weight capacity. It is suited for round bowl toilets and is very simple to install!
If you need a raised toilet seat for the long-term or a more permanent solution, I would suggest a under-seat mounted raised toilet seat which requires some hand-tools, but no worries, we have written a tutorial all about how to install a raised toilet seat that requires tools.
This tutorial will provide an overview of how to install a clamp-on style raised toilet seat. Let’s get started!
If you prefer a video how-to, please check out my video on my YouTube Channel!
Overview:
Estimated Time: 5 minutes
Estimated Cost: $40 USD*
Please note: Before we begin, you need to make sure you follow all the instructions and warnings provided by the manufacturer. The steps below are only to provide guidance with installing or assembling equipment, but you should always follow the warnings and instructions provided by the manufacturer and always speak with your medical team before adding new equipment to your routine.
Supplies Needed:
*all prices are at the time of publishing
Steps:
- Open toilet seat and lid
- Unscrew front lock and knob mechanism
- Place rear of toilet seat riser onto toilet bowl
- Place front of toilet seat riser onto toilet bowl
- Tighten front knob to hand tight
Clamp-On Raised Toilet Seat – Step 1: Open Toilet Seat and Lid
First, open the toilet seat and lid.
This type of toilet seat riser does not require the existing toilet seat to be removed. The toilet seat will remain open as long as this toilet seat riser is in place.
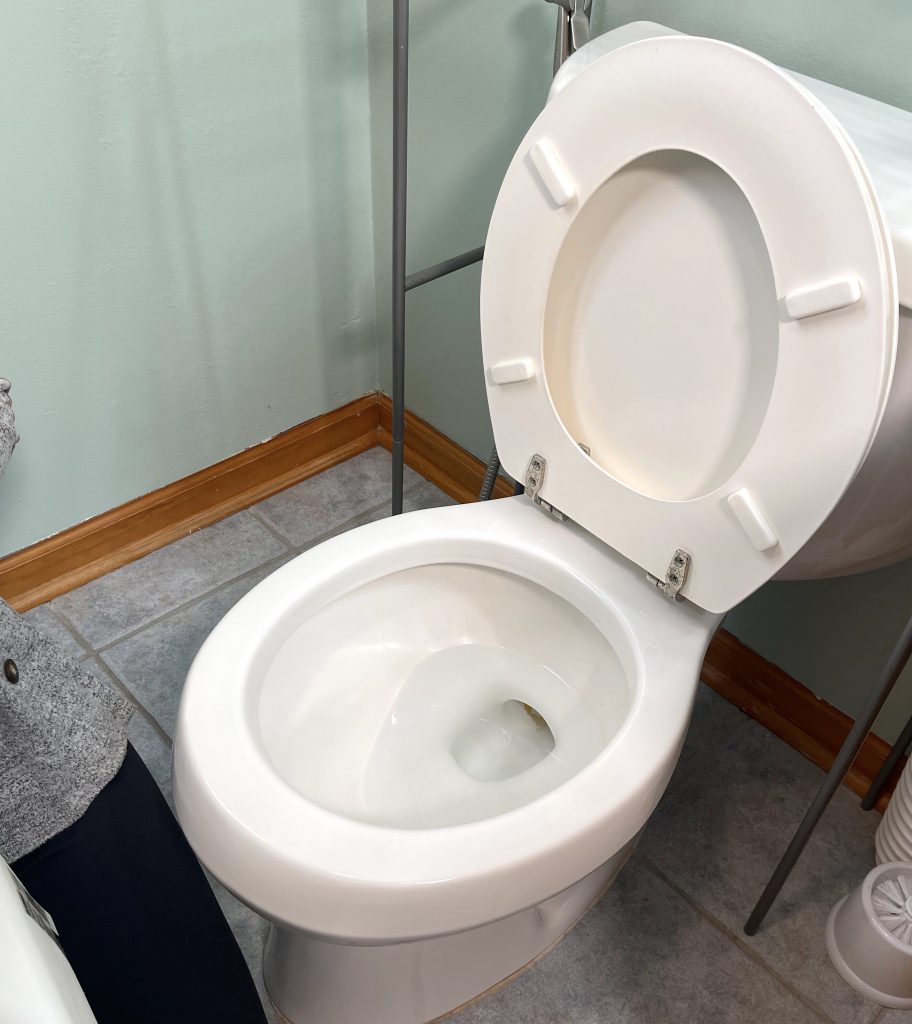
Clamp-On Raised Toilet Seat – Step 2: Unscrew Knob and Lock Mechanism
Next, unscrew the knob and lock mechanism. The front knob should be turned until the mechanism is in the fully open position as shown in the accompanying photos.
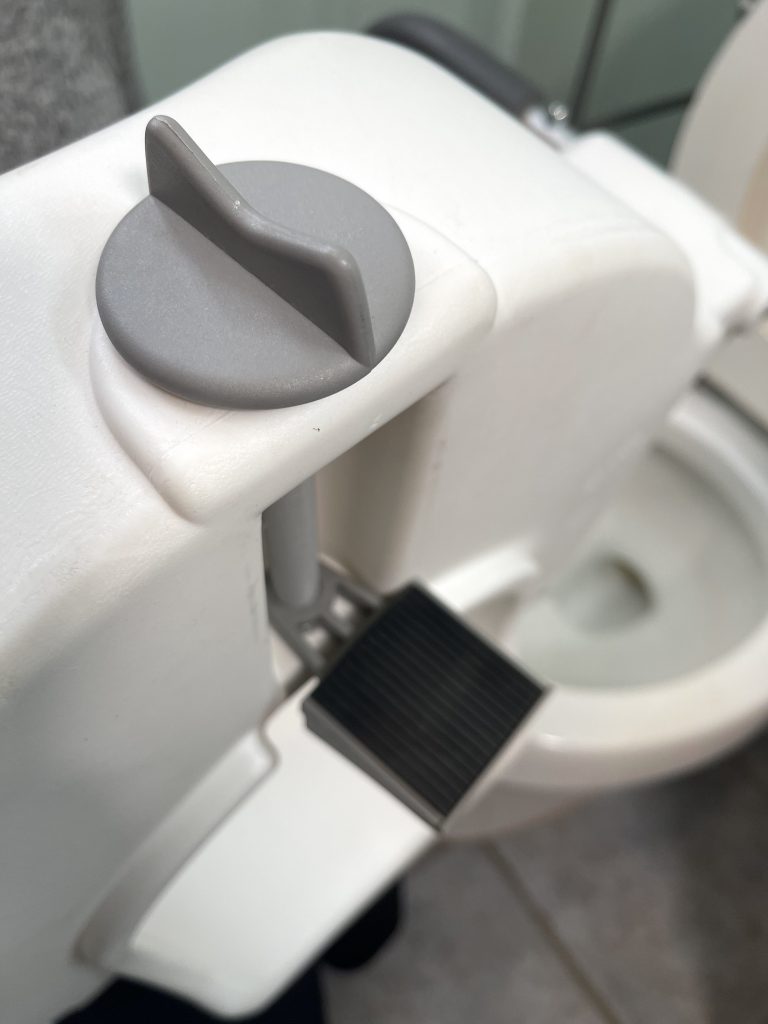
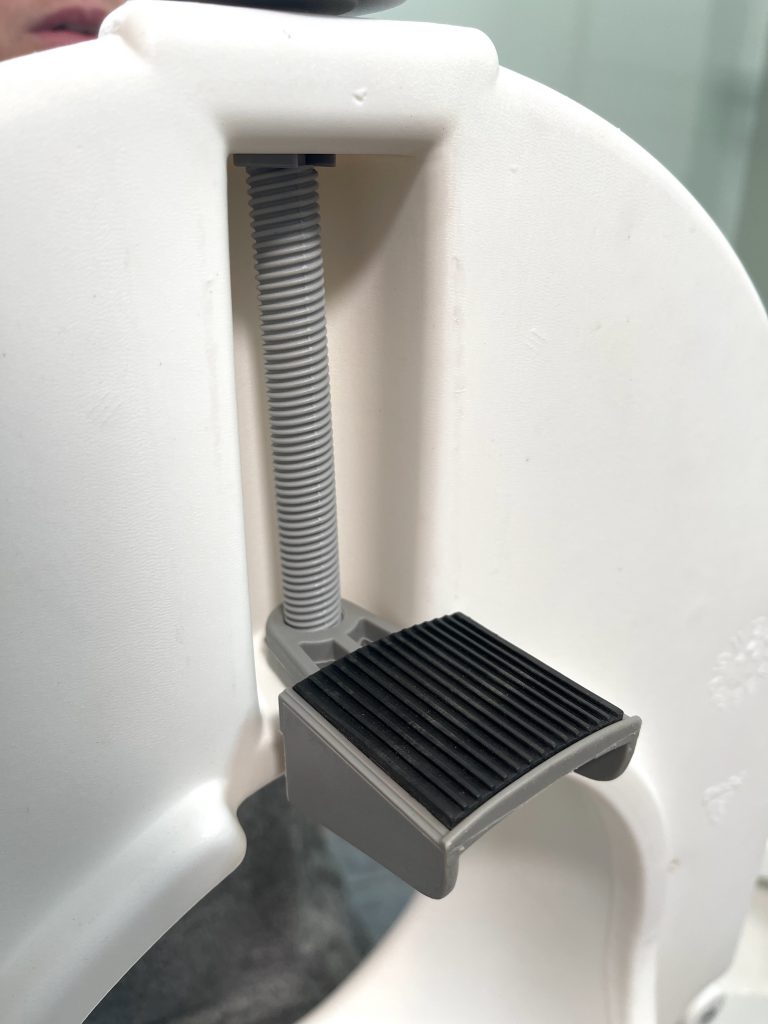
Clamp-On Raised Toilet Seat – Step 3: Place Rear of Riser in Position
Place the rear of the riser in the toilet bowl first. Make sure the lip on the rear of the toilet seat riser is positioned under the lower edge the toilet bowl. Positioning it this way will ensure it does not tilt forward if weight is applied to the front of the toilet seat riser.
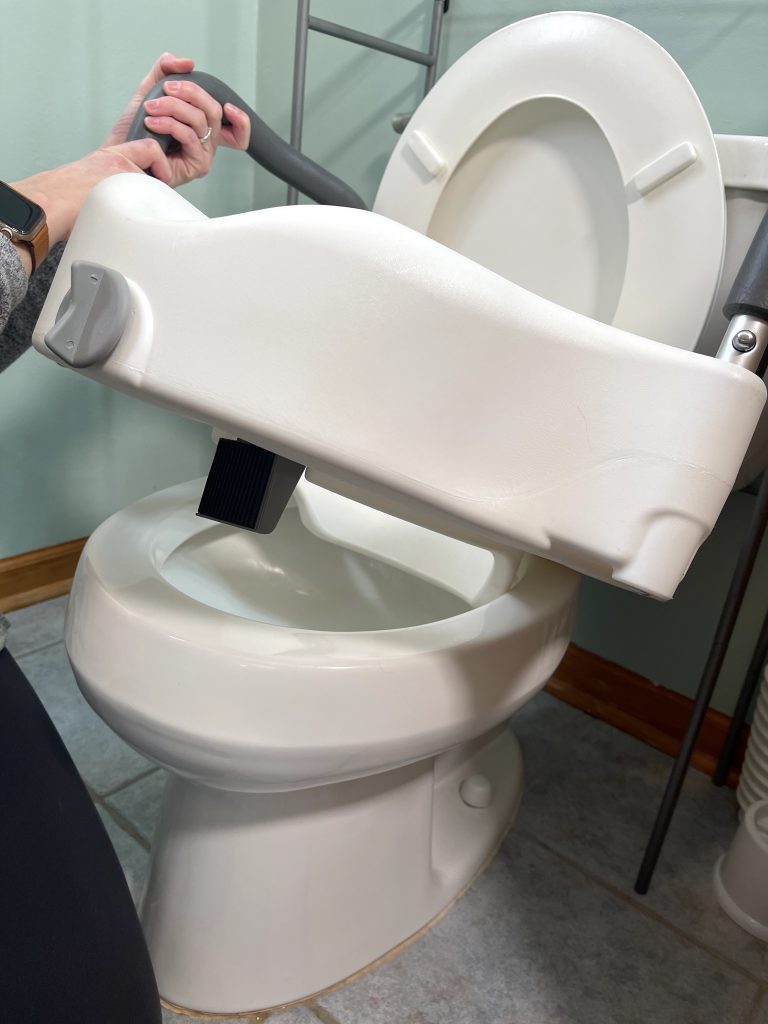
Clamp-On Raised Toilet Seat – Step 4: Place Front of Riser on Toilet
Place the front of toilet seat riser down on the toilet and make sure it is centered.
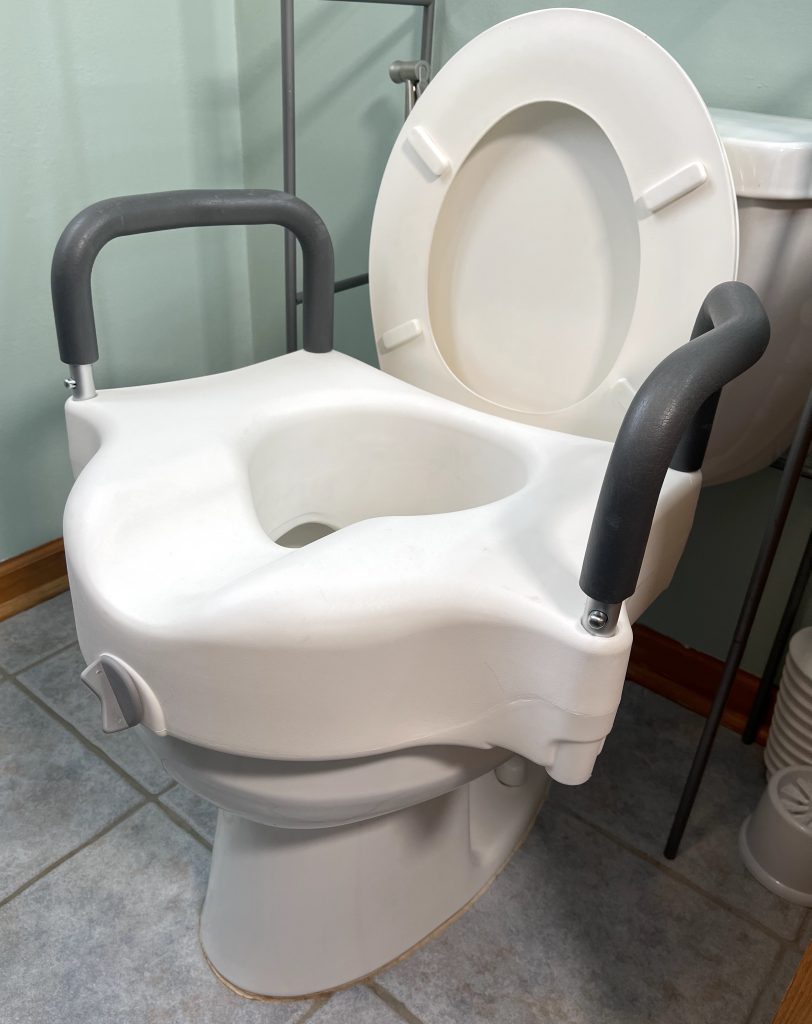
Clamp-On Raised Toilet Seat – Step 5: Tighten Front Knob
Tighten the front knob and clamp until you feel resistance and make sure to only secure to hand tightened to prevent damaging the plastic mechanism.
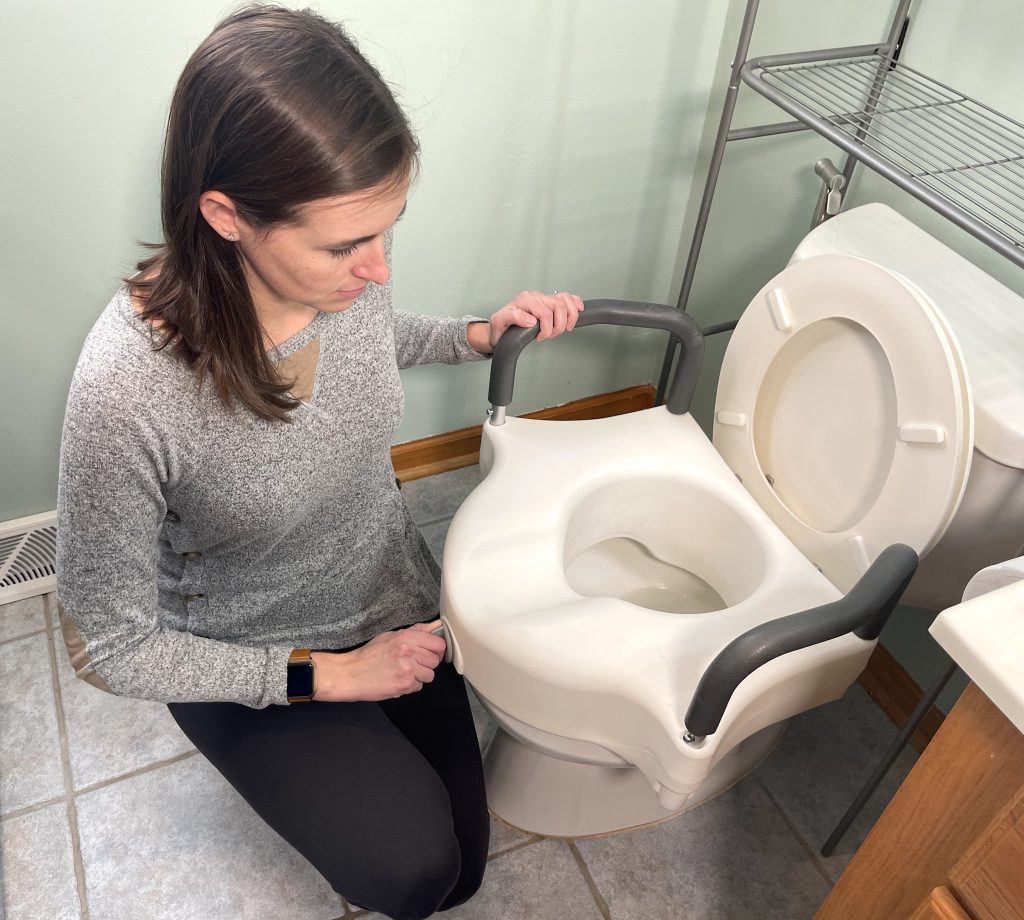
Clamp-On Raised Toilet Seat – Arm Rests
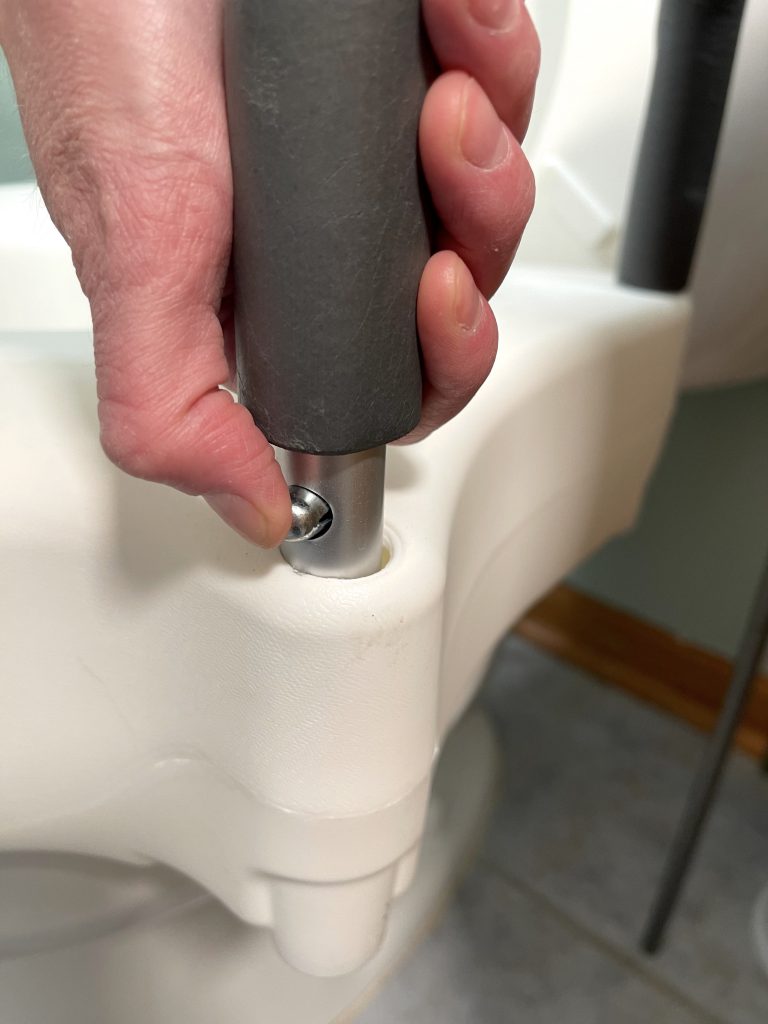
The arm rests of the clamp-on toilet seat can be removed if not needed or replaced at a later date by simply pressing the locking button.
That’s all the steps and tips for installing a clamp-on style raised toilet seat. Hope these instructions were helpful!
Note: This post contains affiliate links that provide a small commission without any added cost to the user.
