Do you struggle with bed mobility? Considering a bed mobility aid?
You are not alone. Many of the patients, or their caregivers, that I have worked with struggle with bed mobility following a surgery or an injury.
But you do not need expensive equipment or bed mobility aids.
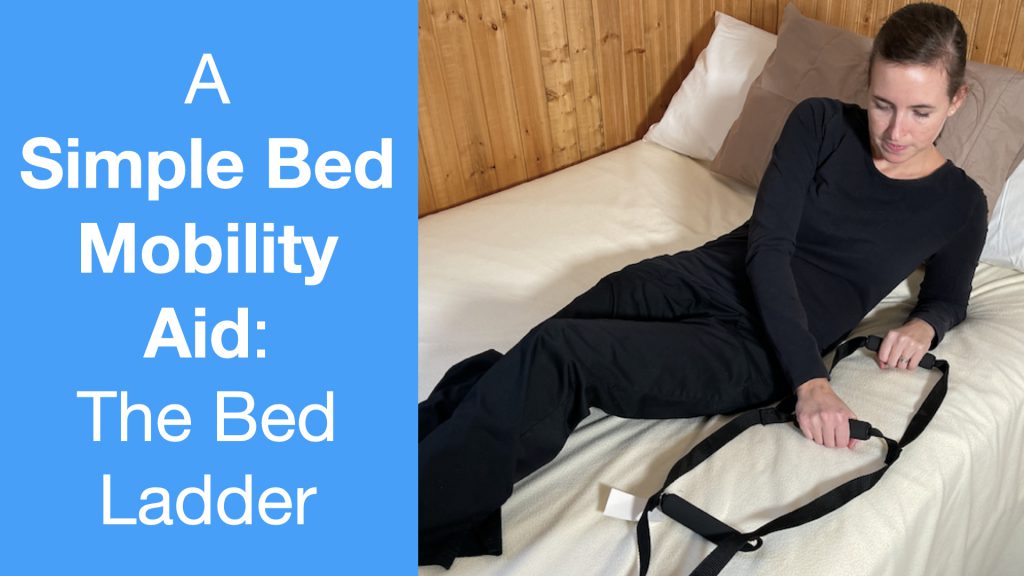
The bed ladder is a simple and cost effective bed mobility aid for mobility challenges. The bed ladder is very adaptable. A bed ladder can be positioned in many different ways such as the foot or side of the bed, depending on your needs.
In this post, we will highlight the simple process for how to install a bed ladder including choosing a good position for the bed ladder.
If you would like to see how to install bed ladder and how to use a bed ladder in a video, please check out my YouTube channel EquipMeOT.
Supplies
Why use a Bed Ladder as a Bed Mobility Aid?
The bed ladder is a bed mobility aid that is extremely affordable, does not take up much room, and is easy to install.
I wanted to talk about bed ladders because as a bed mobility aid, the bed ladder brings a lot of value and may not be a bed mobility solution that everyone is aware of. I have used bed ladders a lot with clients who have issues with back pain, hip issues, or maybe some significant core weakness.
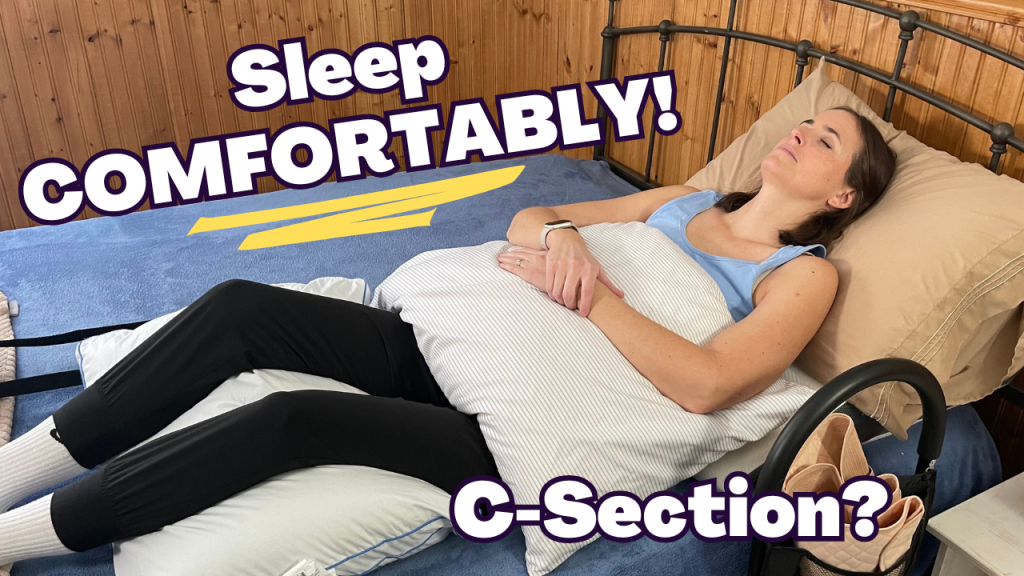
If you’re recovering from a significant abdominal surgery (such as a c-section), a bed ladder may be an excellent solution, in conjunction with a bed rail, for you to improve your bed mobility. The bed ladder may allow you can get around more freely and independently.
A bed ladder can be really helpful for caregivers as well. A bed ladder can provide assistance for caregivers in positioning in bed to assist with dressing, toileting, and any type of action that has to be done from the bed level.
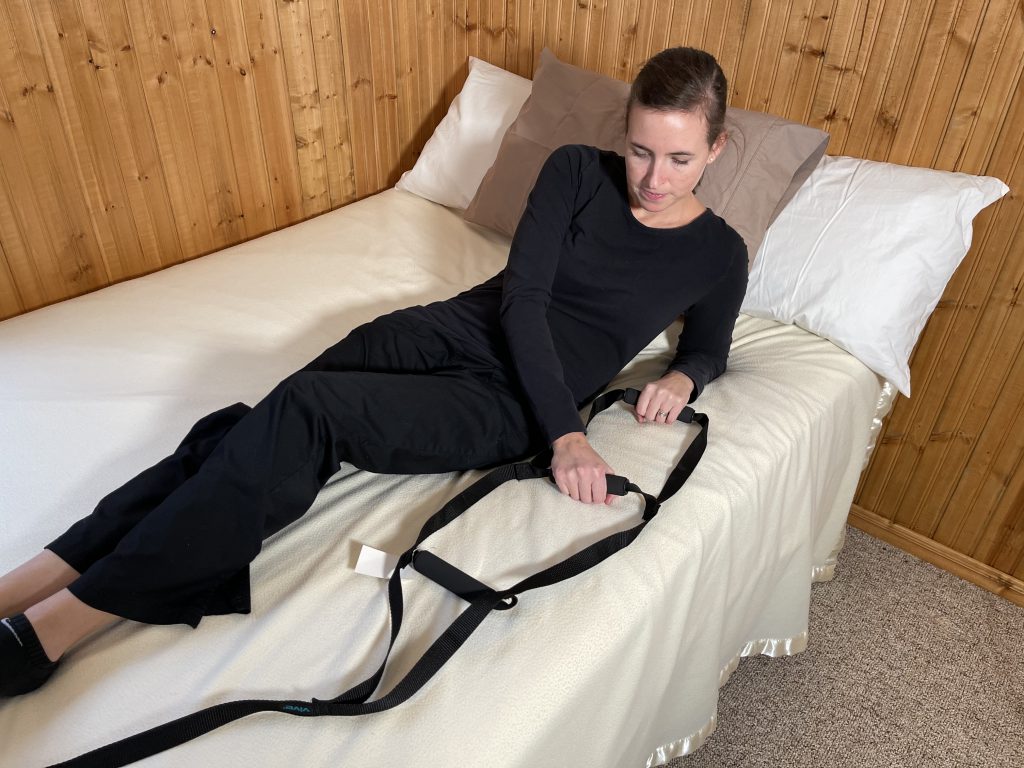
How to Install a Bed Ladder Mobility Aid – Overview
Estimated Time: 5 mins
Estimated Cost: $13* USD
How to Install a Bed Ladder Mobility Aid – Steps
Step 1: Inspect Bed Frame
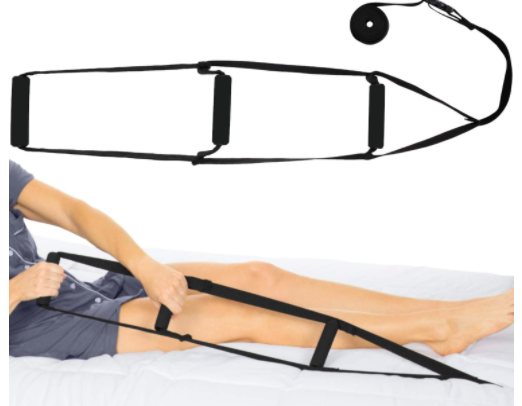
The bed ladder works by connecting one end of the bed ladder to your frame, while you hold the “ladder” end, with the rungs, of the bed ladder. The bed ladder attached to the bed frame will provide enough resistance to allow you to move by “climbing” the ladder with your hands.
One end of the bed ladder, the end without the rungs, connects to the bed frame with a clip. Before you clip the bed ladder to the bed frame, you need to inspect the bed frame for a good attachment point.
Your bed frame will need something underneath it that the bed ladder strap will be able to loop around. In our case, we have a traditional metal bed frame, made from two halves connected together with a cross-member. The crossmember will make an excellent attachment point in this case.
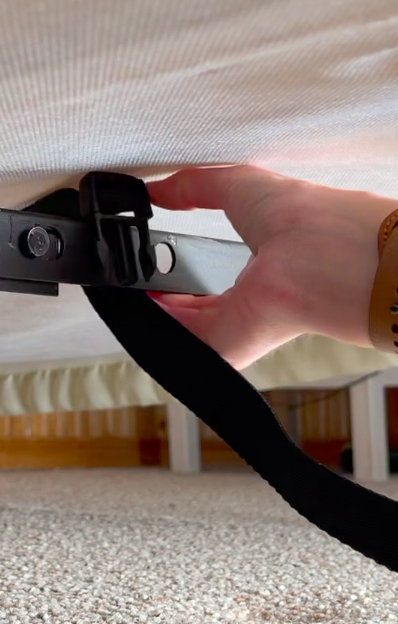
If your bed does not have a traditional frame underneath, you may need to add a grip point to the bed frame. If you have a solid wood bed frame, for example, some people have installed a drawer handle underneath on the bed frame that you can use to loop around.
The bed ladder can be attached at the foot OR the side of the bed, if attaching to one or the other is better for your bed frame.
Step 2: Position Bed Ladder
Next, you need to decide where to position the bed ladder in relation to the bed frame. As mentioned in the last step, there are two traditional positions for the bed ladder: at the foot of the bed or at the side of the bed.
Each position has its benefits and drawbacks. Positioning the bed ladder at the foot of the bed may be better if the user needs more assistance with sitting upright in bed. But positioning on the side of the bed may be better if the user needs more assistance with rolling or repositioning.
Keep in mind, you need to be aware of any safety issues with entanglement. Make sure it is in a position where the user will not get a foot or arm caught in it.
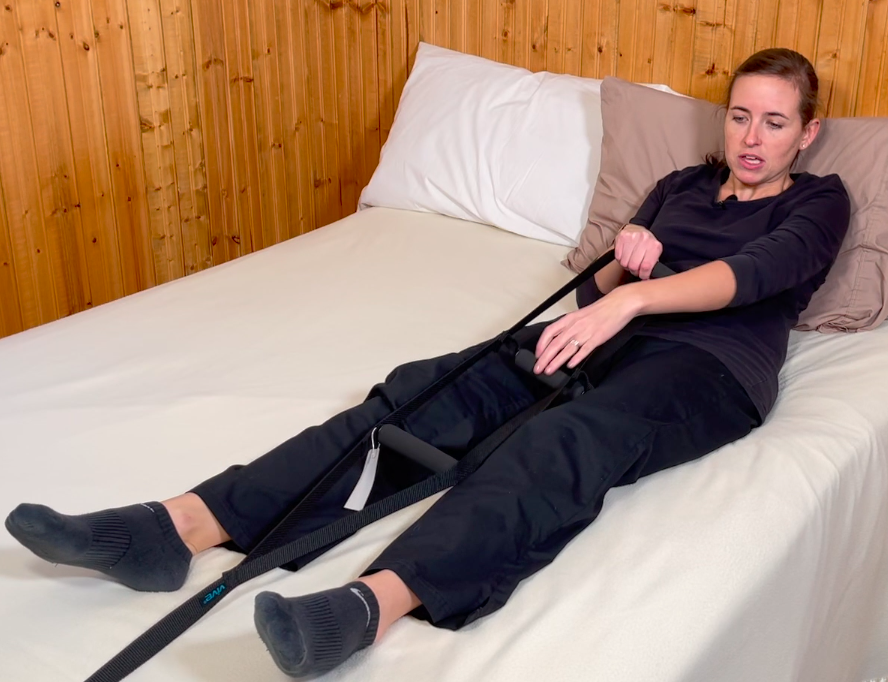
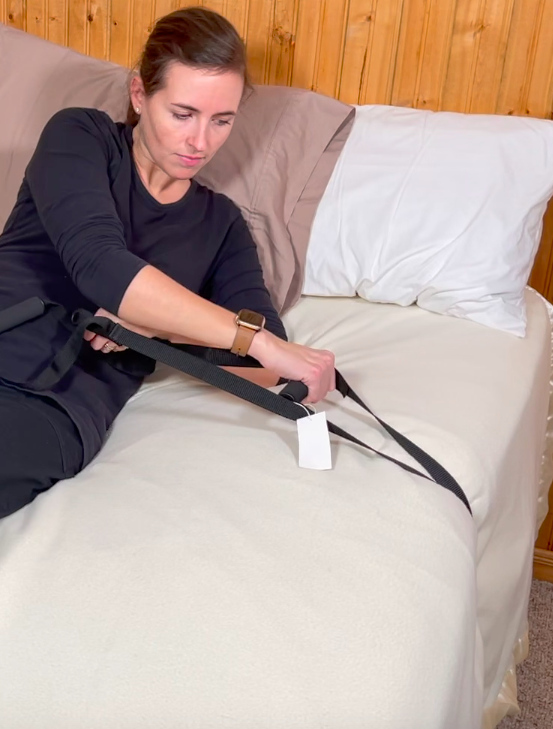
Step 3: Attach Bed Ladder
After you have chosen a position for the bed ladder, you can attach it to the bed frame by looping the end with the clip around the bed frame and clipping it back together.
If the length of the bed ladder is too long or too short after attaching it, the length can be adjusted.
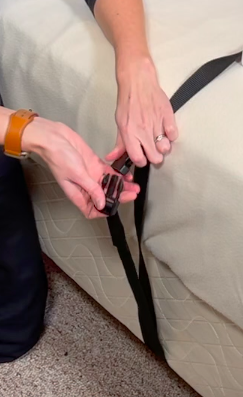
That’s it! Hope you have found out of more this lesser known bed mobility aid that is both adaptive and inexpensive.
Note: This post contains affiliate links that provide a small commission without any added cost to the user.
*all prices are at the time of publishing
More Recent Posts…
- How to Sleep After a C-Section or Abdominal SurgeryRecovering from a C-Section, appendectomy, abdominoplasty, or other abdominal surgery can feel overwhelming, especially when it comes to something as essential as sleep. With a tender incision and limited mobility, finding a comfortable position may seem impossible—and yet, proper rest is critical for healing! In this …
How to Sleep After a C-Section or Abdominal Surgery Read More »
- How to Get In and Out of the Car after Hip ReplacementGetting in and out of a car after a hip replacement can feel like navigating an obstacle course. Ensuring you move safely and avoid unnecessary strain on your healing hip is essential for a smooth recovery. Whether you’re heading to a follow-up appointment or simply enjoying …
How to Get In and Out of the Car after Hip Replacement Read More »
- A Complete Guide to Lower Body Dressing After Hip Replacement SurgeryRecovering from hip replacement surgery (or similar traumatic injury) comes with its challenges, especially when it comes to everyday tasks like getting dressed. While your mobility may be temporarily limited, dressing your lower body can be made much easier with the right strategies and tools. This …
A Complete Guide to Lower Body Dressing After Hip Replacement Surgery Read More »
